NA Launcher Usage Guide
This document walks through the installation and usage process of the Nekro Agent Windows Launcher (hereinafter referred to as "the launcher").
System Requirements
- Windows 10 version 2004 or later, or Windows 11.
- Hardware virtualization must be enabled in your computer's BIOS/UEFI. You can use the following PowerShell command to check:
Get-CimInstance -ClassName Win32_Processor | Select-Object Name, VirtualizationFirmwareEnabledAfter running the command, ifVirtualizationFirmwareEnabledshowsTrue, virtualization is enabled.
Usage Steps
Install the Launcher
- Download the latest launcher installer from the links below and complete the installation. GitHub Release123 Cloud Drive
Run Environment Check and Deploy Services
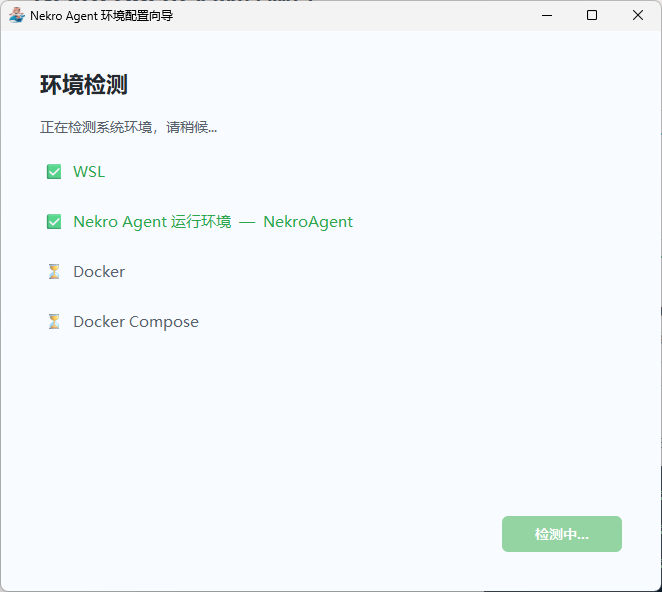
- When you first open the program, the launcher will check the basic environment, as shown below.
- If WSL components are missing, the installation process will begin. During this process, the system will restart once. A popup will appear before the restart; please save important files promptly. If the environment is missing, the creation process will begin, as shown below.
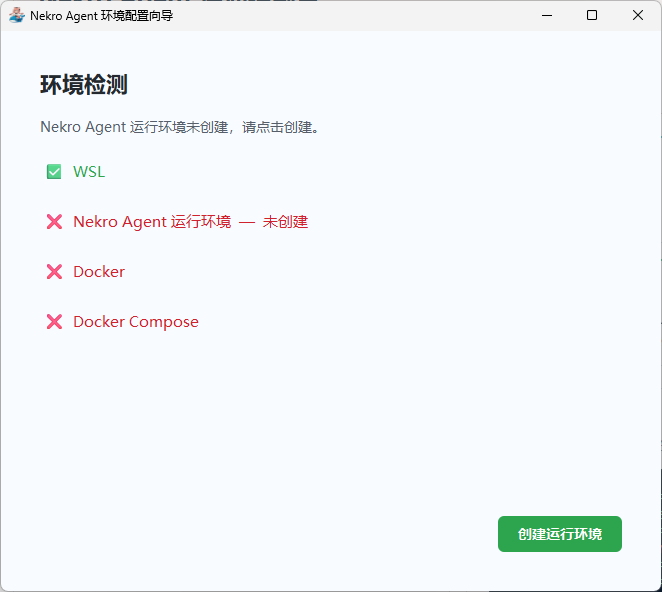
- After clicking "Create Runtime Environment," you will be directed to a page for selecting the disk storage location, as shown below. It is recommended to select a non-system drive as the storage location.
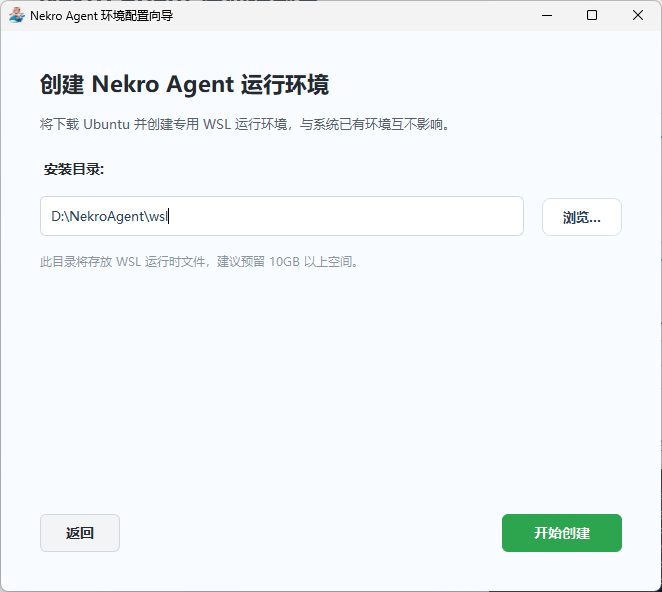
- After clicking "Create," the launcher will automatically download and create the WSL environment. Please wait patiently.
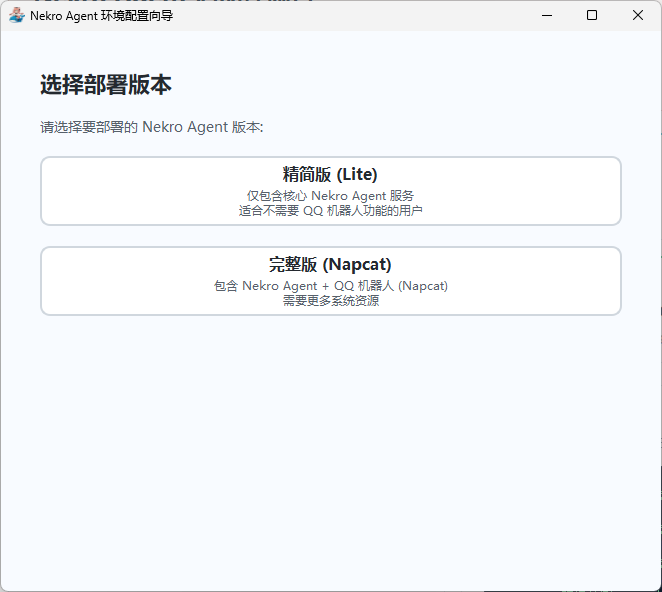
- After the WSL environment initialization is complete, the deployment process will begin. First, the launcher will ask you to select a deployment version. If you are new to Nekro Agent or AI bots, it is recommended to select the Full version, as shown below.
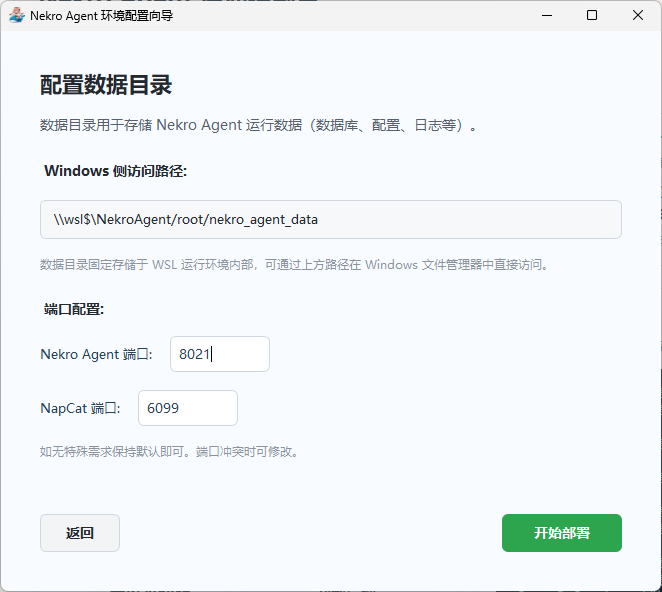
- After selecting the version, the launcher will ask you to choose a port number. Generally, the default is fine. If a port conflict occurs, you can change it. The path shown above can be copied into a file explorer after deployment to access the Nekro Agent data directory, as shown below.
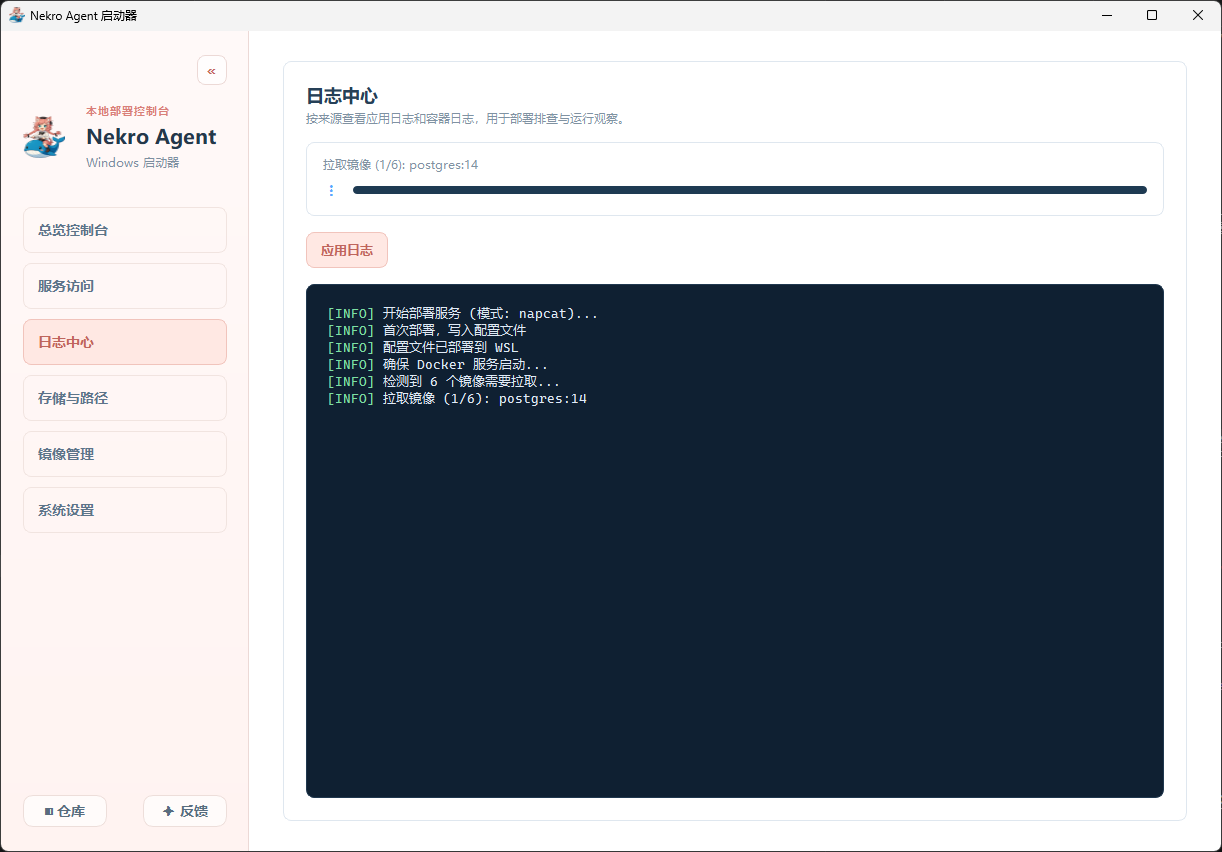
- After configuration is complete, the launcher will automatically pull the required images. Since the image files are large, the download may take some time. Please wait patiently, as shown below.
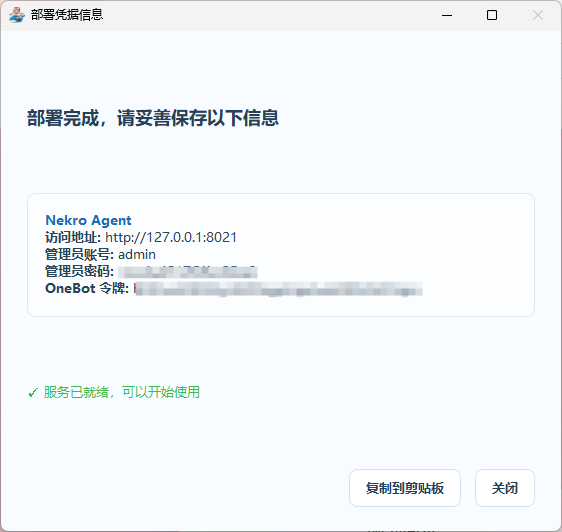
- After the download is complete, the launcher will automatically enter the startup process. A popup displaying relevant credentials will appear during this process. Please save them securely, as shown below.
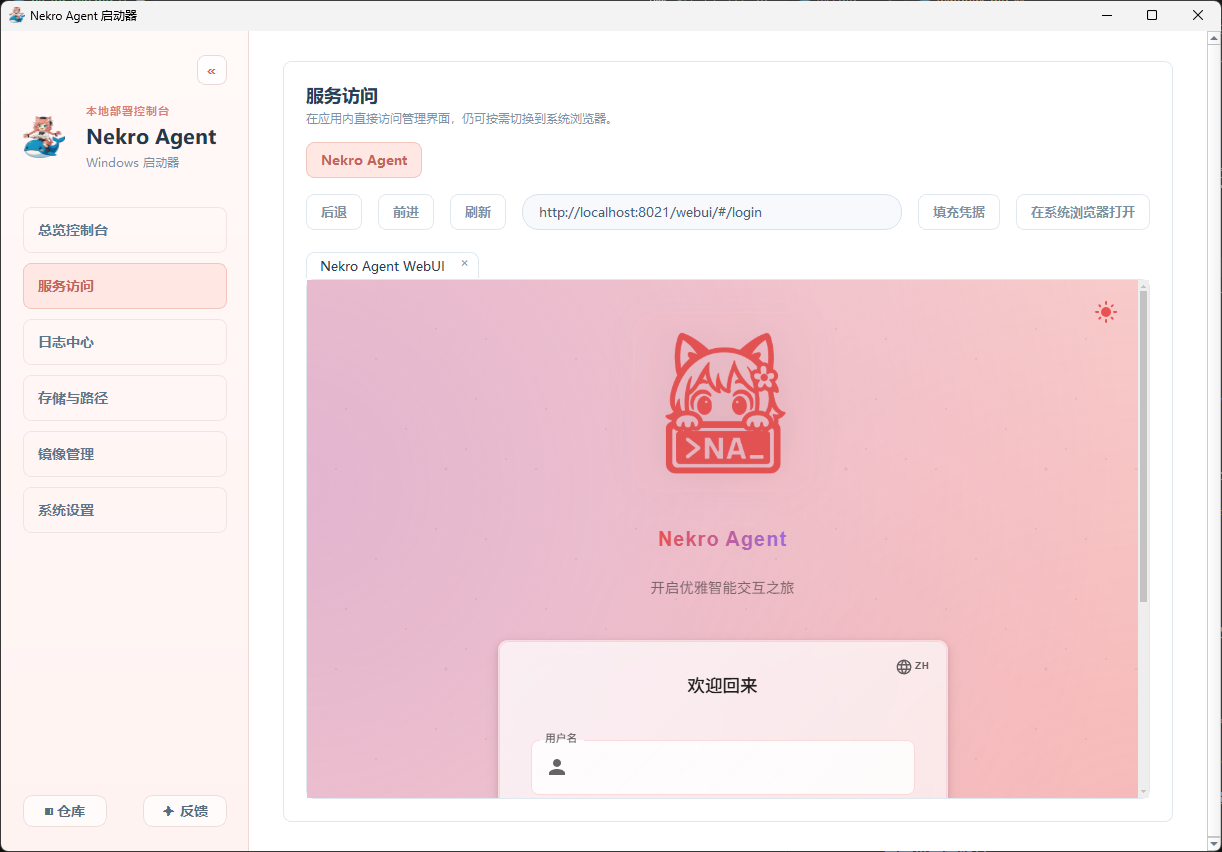
- After the service starts successfully, the popup can be closed. The launcher will also navigate to the built-in browser, where you can switch between the corresponding services as needed. You can also click the "Fill Credentials" button to automatically populate the login credentials for NA/NapCat, eliminating the need to memorize them, as shown below.
- At this point, the Nekro Agent deployment is complete.
- When you first open the program, the launcher will check the basic environment, as shown below.
Post-Deployment Configuration
- Standard Deployment (corresponds to the launcher's Full version): Go to the OneBot V11 / NapCat Configuration document and complete the configuration according to the instructions.
- Core Deployment (corresponds to the launcher's Lite version): Go to the OneBot V11 / NapCat Configuration document and refer to the instructions to continue configuration.